-
Achieving a hedge line that looks professionally manicured is the hallmark of a well-kept landscape. It elevates the entire aesthetic of your property, turning unruly shrubs into architectural elements. While it may seem daunting, the secret isn’t magic—it’s a combination of the right tools, a few key techniques, and a bit of patience.
Here is a comprehensive guide to the top trimming techniques for creating that perfect, sharp hedge line.
1. The Foundation: Preparing for Precision
Before you make a single cut, you need to set yourself up for success. A perfectly straight line is impossible to achieve by eye alone.Gather the Right Tools:
Manual Hedge Shears: Essential for detailed work and achieving the cleanest cuts on individual leaves.
Powered Hedge Trimmer (Gas or Battery): Necessary for long, established hedges to make the bulk of the cuts quickly.
Safety Gear: Gloves and safety glasses are non-negotiable.
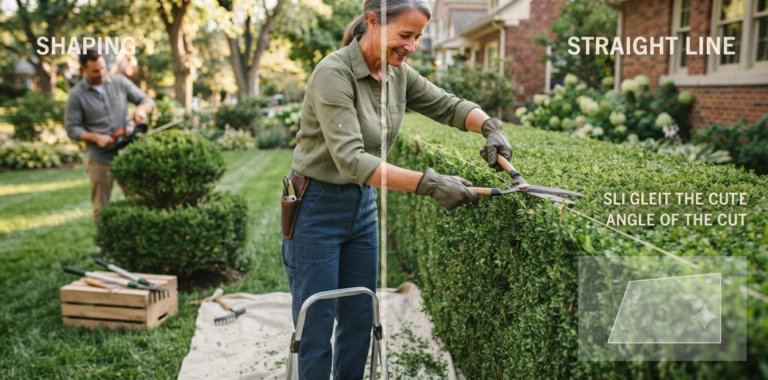
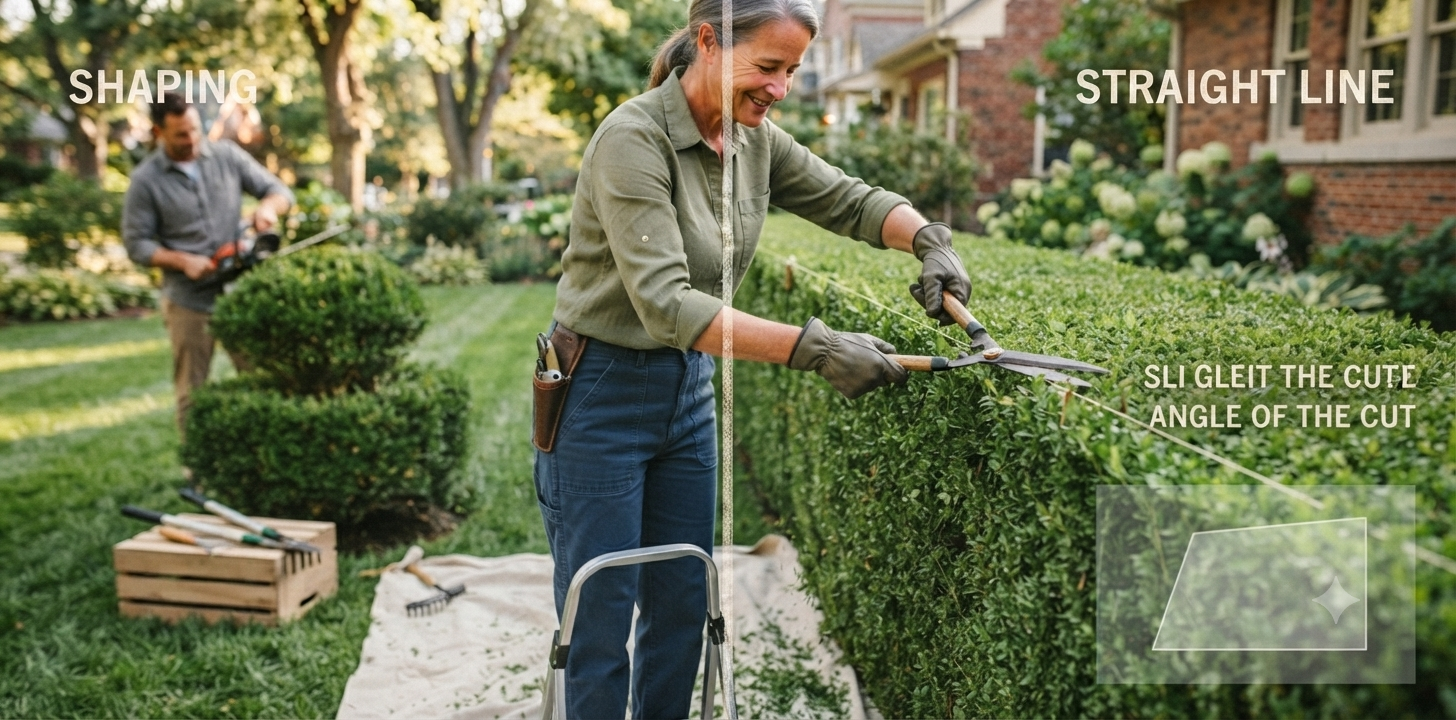
A Taut String Line: Your most important tool for a perfectly straight horizontal or vertical edge.
Clean and Sharpen: Ensure your shear blades are sharp. Dull blades tear plant tissue, leaving jagged brown edges. Disinfect your tools between hedges to prevent the spread of disease.
2. Technique for a Perfectly Straight Top
This is the most common challenge: getting the top of the hedge to be perfectly level.Step 1: Set the Guide: Determine your desired final height. Drive two stakes into the ground at either end of the hedge section. Tie a strong, non-stretch string (like mason’s line) tightly between them at exactly that height. Use a line level to ensure it’s perfectly horizontal.
Step 2: Cut to the Line: Standing on a stable surface, use your powered trimmer to cut along the string. Let the string act as a physical guide, but be careful not to cut through the string. For small corrections, switch to manual shears.
Step 3: Step Back and Check: Periodically step back several feet to view the hedge from a distance. What looks straight close up may have a subtle curve from afar.
3. Technique for a Tapered Profile (Crucial for Plant Health)
Many beginners make the mistake of trimming their hedges so the sides are perfectly vertical, or even wider at the top than the bottom. This is a critical error.The «Batter» Rule: A healthy hedge requires sunlight to reach the lower branches. If the top is wider than the bottom, it shades the lower interior, causing it to become thin, brown, and sparse over time.
How to Taper: You must create a slight angle, or «batter,» on the sides. The hedge should be wider at the base and narrower at the top. This allows sunlight to bathe the entire plant structure. Aim for a slope where each side tapers inward by about 6 to 12 inches from bottom to top, depending on the hedge’s height.
4. Techniques for Shaping and Detailing
For non-formal hedges or when performing maintenance shaping, the string line is less critical, and a more fluid approach is needed.«Wedge-Cut» Method for Sides: Instead of trying to make one long, flat vertical pass, make a series of small, wedge-shaped cuts into the hedge face. This allows you to control the shape and depth more accurately, working your way down the length of the shrub.
Follow the Natural Form: For rounded or organic shapes, use the plant’s existing branch structure as a loose guide. Make shallow, sweeping cuts with the powered trimmer, «shaving» the plant to your desired fullness.
Finish with Shears: Powered trimmers are for rough shaping. To get a truly «manicured» look, go over the entire hedge with sharp manual bypass shears. Snip off stray twigs and leaves that the machine missed. This detailing is what separates a good job from a great one.
By following these techniques and resisting the urge to rush, you can transform any hedge into a stunning, healthy, and perfectly manicured feature of your garden.